Top Horse Classes in Dead Rails: A Tier List
Want to explore the vast world of *Dead Sails* and achieve impressive distances without meeting an untimely demise? You're not alone in this quest. Beyond the gear you acquire and the companions you choose, selecting the right class is crucial. To save you from endless trial-and-error, I've crafted
- By Zachary
- Apr 19,2025
Want to explore the vast world of *Dead Sails* and achieve impressive distances without meeting an untimely demise? You're not alone in this quest. Beyond the gear you acquire and the companions you choose, selecting the right class is crucial. To save you from endless trial-and-error, I've crafted the **ultimate *Dead Rails* class tier list**. This guide is designed to streamline your journey, ensuring you can focus on enjoying the game rather than figuring out the best strategies.
Recommended Videos
Table of contents
- All Dead Rails Class Tier List
- S Tier Dead Rails Classes
- A Tier Dead Rails Classes
- B Tier Dead Rails Classes
- C Tier Dead Rails Classes
- D Tier Dead Rails Classes
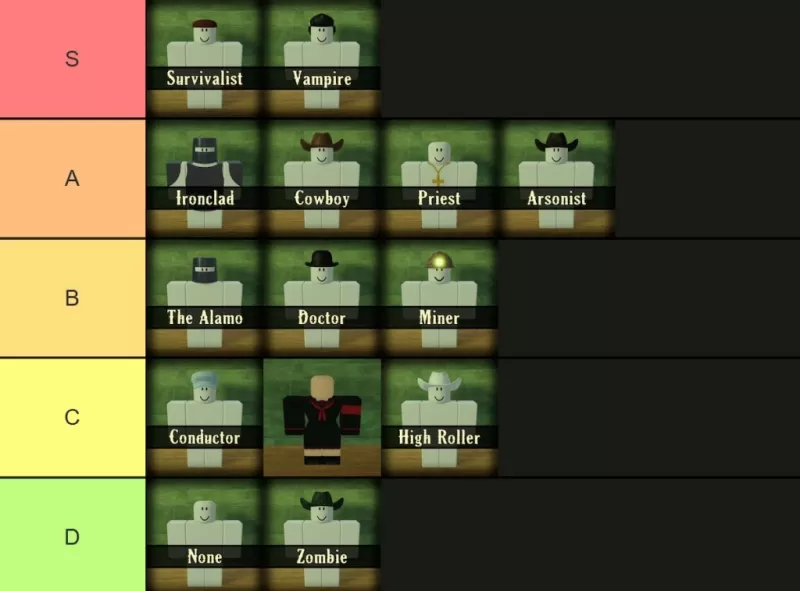
All Dead Rails Class Tier List
S Tier Dead Rails Classes
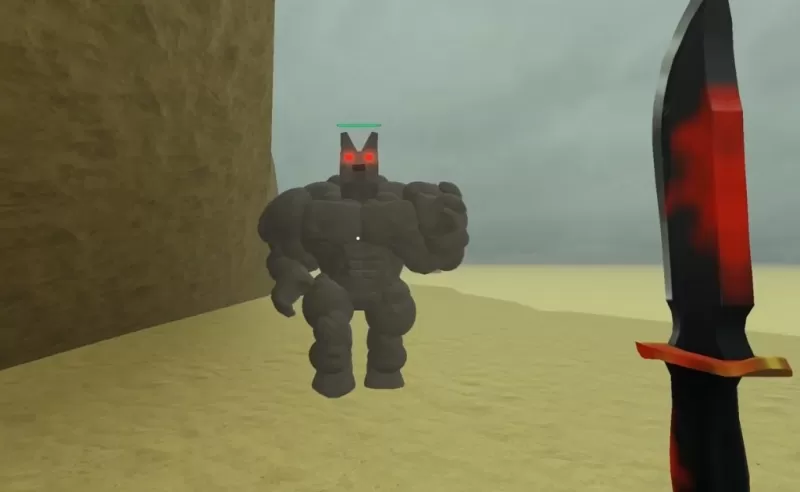
| **Name** | **Cost** | **Info** |
| Survivalist | 75 | The Survivalist starts with a Tomahawk and becomes even more formidable as your health decreases. Even at full health, you deal more damage than most other classes, though a nerf might be looming. It's especially effective against tough enemies that don't go down easily. |
| Vampire | 75 | The Vampire excels in speed and aggression. You're faster than a horse or a sprinting zombie, and your melee attacks are devastating—most zombies fall in just three hits. The downside? You're vulnerable to sunlight, so stick to the shadows. You spawn with a Vampire Knife that heals you with each hit, making survival about maintaining constant pressure. |
A Tier Dead Rails Classes

| **Name** | **Cost** | **Info** |
| Ironclad | 100 | The Ironclad comes equipped with full armor, making you much harder to kill. The trade-off is a 10% slower movement speed. Not ideal for solo runs, you'll want a teammate watching your back. In team settings, shotguns are your best friend, as you're built for close-quarters combat. |
| Cowboy | 50 | The Cowboy offers a strong start with a revolver, two boxes of ammo, and a horse. This setup makes early-game fights easier and provides the speed to survive chaotic situations, especially during Blood Moon nights. With the Game Pass, you can sell the revolver for extra cash to start with an even better loadout. It's a bargain at its price. |
| Priest | 75 | The Priest comes with Crucifixes and Holy Water that can't be sold but are effective against enemies. You're immune to lightning, making storms irrelevant. Not suited for solo play, the Priest excels in larger squads where their throwables can significantly boost your team's chances. Think of them as spiritual support with a powerful throw. |
| Arsonist | 20 | The Arsonist thrives in chaos, starting with Molotovs and a boost to fire damage. They're perfect for quickly wiping out groups of enemies or clearing towns. Best used in smaller areas where you can control the pace, and having a horse enhances the hit-and-run strategy. |
B Tier Dead Rails Classes
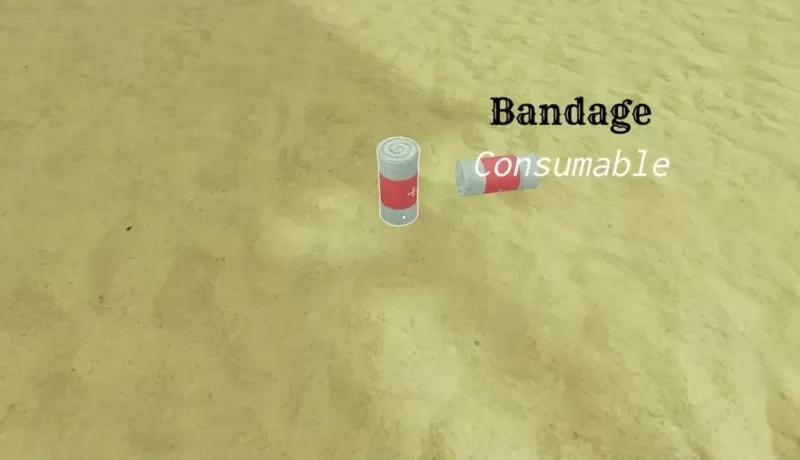
| **Name** | **Cost** | **Info** |
| The Alamo | 50 | The Alamo is designed for defense, starting with Sheet Metal, Barbed Wire, and a helmet. It's perfect for fortifying the Train early on. Not flashy, but incredibly effective when you need to hold the line against enemy waves. |
| Doctor | 15 | The Doctor is your lifeline in dire situations, equipped with healing supplies and the ability to revive teammates at the cost of half their own health. One of the cheapest classes, it's invaluable in group play. Keep them alive, as they can turn a potential wipe into a victory. Selling bandages and snake oil can net you a $40 boost. |
| Miner | 15 | The Miner is ideal for resource gathering and nighttime exploration, with a helmet for visibility and a Pickaxe that breaks ore in two swings. They come with some Coal to get you started. While not combat-focused, their utility is unmatched, especially with the new ore types. |
C Tier Dead Rails Classes
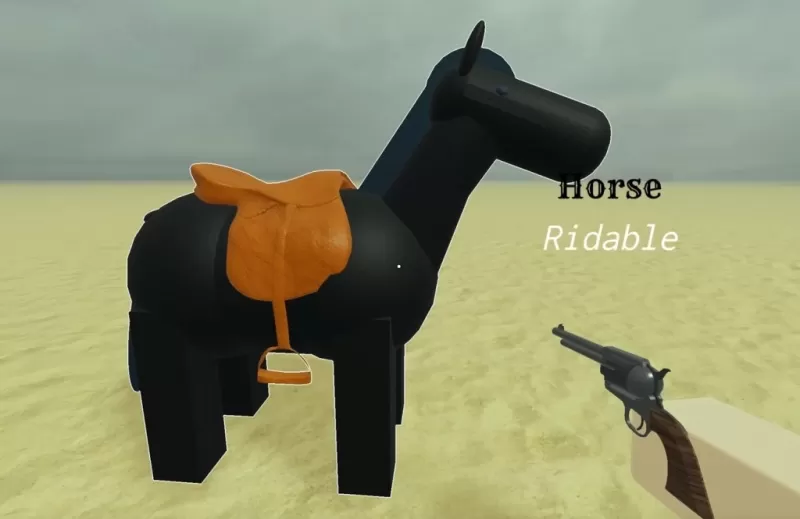
| **Name** | **Cost** | **Info** |
| Conductor | 50 | The Conductor controls the Train, starting with Coal and capable of reaching a top speed of 84. No melee weapon at spawn makes them vulnerable early on, so ensure they're protected. They no longer suffer a health penalty, making them slightly less fragile than before. |
| Horse | Unlockable through the Horsing Around gamemode | The Horse Class turns you into a horse, unlocked during the 2025 April Fools "Horsing Around" event. You have standard horse stats, including a large hitbox that can be problematic in tight spaces. You can ride other players but can't sit on the train or other horses. |
| High Roller | 50 | The High Roller earns 1.5x the money from bags, providing a solid head start for gearing up. However, you're more likely to get struck by lightning during storms, making it a high-risk, high-reward choice for those looking to stack cash early on. |
D Tier Dead Rails Classes
| **Name** | **Cost** | **Info** |
| None | Free | The None class is the default, starting with just a shovel and whatever you can scavenge. No perks or drawbacks, it's a blank slate for beginners to find their playstyle before committing to a class. |
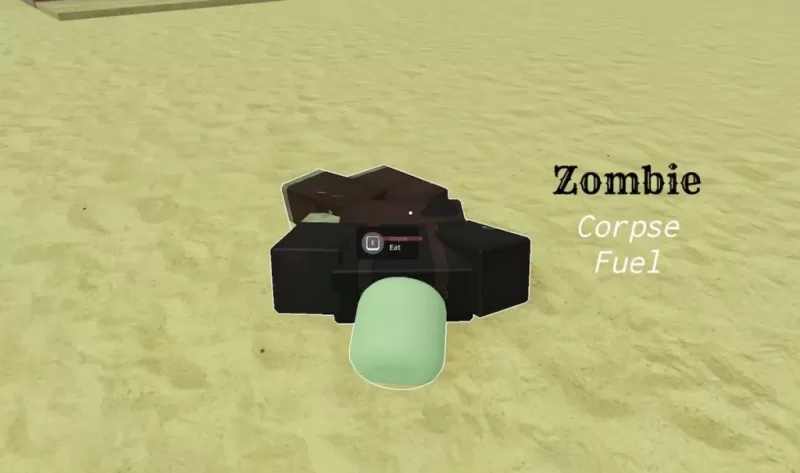
| Zombie | 75 | The Zombie thrives in chaos, healing by feeding on corpses and sneaking past enemies. You can't use Bandages or Snake Oil, but you gain stealth and sustainability in areas with bodies. Unfortunately, it's still not very effective at the moment. |
That's the complete Dead Rails class tier list! I hope it helps you break records and conquer mobs effortlessly. Don't forget to use Dead Rails codes and tackle Dead Rails challenges. Stay tuned for what the next update might bring!
Latest News
more >-
-

- Universal Piece Trello and Wiki Links
- Oct 22,2026
-

-

-